Wednesday, May 31, 2006

Carpet Tiles Down

Here are some pics of my theater/tv area with the carpet tiles down.

Still need to add trim, shelves, door, and do some framing/drywalling/painting, and a drop ceiling in the entrance area. Will this EVER end?!


Hard to get a pic in this lighting....the projected image looks a LOT better than it shows here.


This is a little better.

Wednesday, May 24, 2006

Vader....new Helmet and Chest Armor!

He's starting to look a little more ominous now! My home made chest armor and the voice changer helmet have been replaced with better ones!

Sunday, May 21, 2006

More basement progress...PROJECTOR BACK IN BUSINESS!!!!

Here are some pics of the basement. We worked HARD this weekend!!!!!!!!!


The screen turned out GREAT! Man...I used silverscreen (behr) and WHAT A DIFFERENCE!!!!!!!!!!!! I watched the Empire STRIKES Back and MAN do the colours pop out now. SOOOOO much better than projecting onto white. The space scenes are BLACK and the engines are a bright red glow.


Friday, May 19, 2006

Which one is real??

My ewok arrived last week.....looks GREAT! No point moving him to the basement which is still a disaster!!

Will be painting phase 2 this weekend!!! Then we are MUCH closer to being done...(except for phase 3).


Sunday, May 07, 2006

Basment Progress....

Well...worked our butts off, but we got part of the basement liveable!!!! Once we are closer to having the other side done I'll lay out carpet tiles, so the area rug will do for now. We still have to add wood for the ledge shelves, outlet covers, trim, etc....but we are a lot closer!


Thursday, May 04, 2006

Some basement progress

This is my TV nook. Nice to get that beast out of the way!


This is the window to the left of the tv wall.


This is the wall opposite the Tv. I am going to put wood shelves along that ledge...so I can display a few things.


The only progress on my Fett since the last post is I managed to paint the cheekbone areas on the helmet (the dark green). Here is is sporting his new armour (that has yet to be shaped and painted).


Here are a couple Lord of the Rings swords I got for CHEAP at a liquidation store near my work. Lucky find!

Wednesday, April 19, 2006

Third time with green....much better.

This is a LOT more the colour I was going for with the green. I dropped my bottle of paint after spraying JUST enough so I hope I don't need to do any touch ups!! PAINT EVERYWHERE!

Then I masked off the helmet and painted on the red. Then I removed the liquid latex I had painted on a few days ago to pull off the red in various places for the "weathered" look. I am very happy with the results!!

Tuesday, April 18, 2006

Painting begun...not right color tho??


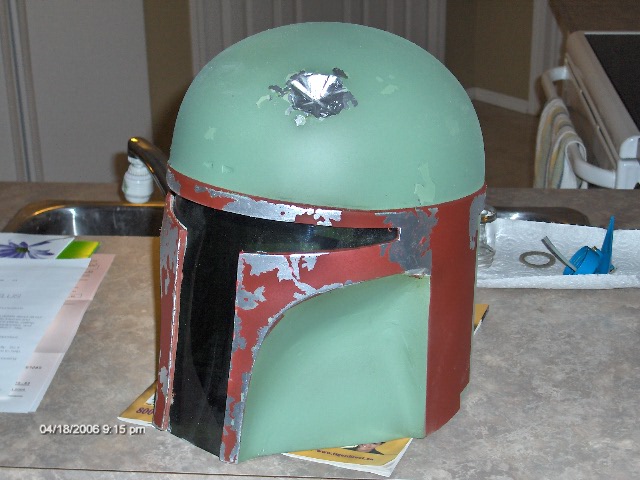
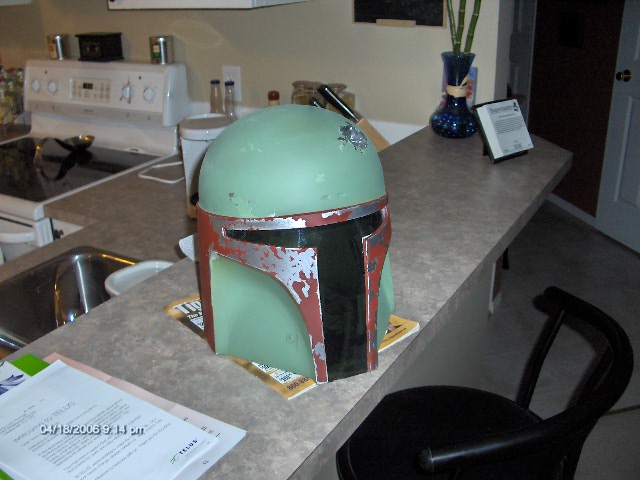
I painted the cheeks and dome of my Fett helmet...but the Panzer Olive Green appears way too dark!!

I added some yellow to it and tried again..still too didn't seem right. Grrr.

Thursday, April 13, 2006

Beginnings of Fett...Mando Symbol in Stainless..

More pics...

This is just the beginning of my Fett. I converted my Spiderman PVC mannequin to this one. It's been tough to get the proporiones right....but once he has hands, fett, armour, etc it should look better...I hope...


Here is the Mandolorian Symbol cut from Stainless Steel....sweet!!

Monday, April 10, 2006

Wednesday, April 05, 2006

Mando Symbols

Not much is new..just wanted to post a couple pics of a mandolorian symbol I got cut out.


Friday, March 24, 2006

Hair Today....

Well I spent the night gluing hair on yoda...

Turned out pretty good. I am happy!


Thursday, March 23, 2006

It's Not Easy Painting Green....

I painted yoda green. I had to mix liquid latex with water to dilute it and added acrylic green for color. The first couple coats didn't work well...and the airbrush kept clogging up!!!

Finally I got the mixture better and the third coat worked out better. Last night I added some detail by hand. I painted on wrinkles and some age spots.

Here he is now. I still need to cut out the latex where the eyes are and place my eyes that I ordered. I'll also add some white hair.

He's getting there...

Tuesday, March 21, 2006

Yoda...YAY!

My Yoda arrived. I was expecting some pretty bad air bubble holes near the eyes, but it really wasn't too bad.

I took some liquid latex and at first I was trying to be carefull to smoothly fill the holes...but then I decided to use the latex to paint on grooves to simulate wrinkles. It totally adds to the realism! That being said I think I will paint a base coat of green using the airbrush, then I will paint the details by hand...and be sure to leave lines in the right places to look like wrinkles. It should be fun!

Here he is before any painting. I think he's a bit too thin so I will likely fill him out a bit. I also have to cut my skeleton feet back a bit and run some wires in the saber hand so he can hold it on his own.

Sunday, March 19, 2006

Filling, Sanding, Painting...

I had to use body filler in the garage with a heater aimed right on the helmet cuz it's cold out there (the fumes smell up the house). I spent the day sanding, sandning, sanding.

I had troubles with some areas where the glue was since the one glue that worked (PLumbers Goop) is pretty elastic, so it can't be sanded. I tried to cover it with filler.

It really does look better in person, and once the final paint job is done I want it to look beat up anyways...so it will be fine.


Friday, March 17, 2006

A Little More Fett Progress

I got the cheek pieces filled in. They didn't fit very well....but bondo will fix that later.

I also cut away more of the pieces holding the chin together. I left a piece that is set just a bit back so the lens is able to slide overtop. This way it will hold it's shape, and the lens will still go in place.


Thursday, March 16, 2006

Fett Progress..and a Yoda Imposter

I spent some time last night working of the Fett Helmet. The tricky think is working on those cheeks, but now that it is together I just have to fill it in.


I tried putting the yoda ears on my dog..but that lasted all of 3 seconds. Gollum didn't seem to mind.

Wednesday, March 15, 2006

Fett Update

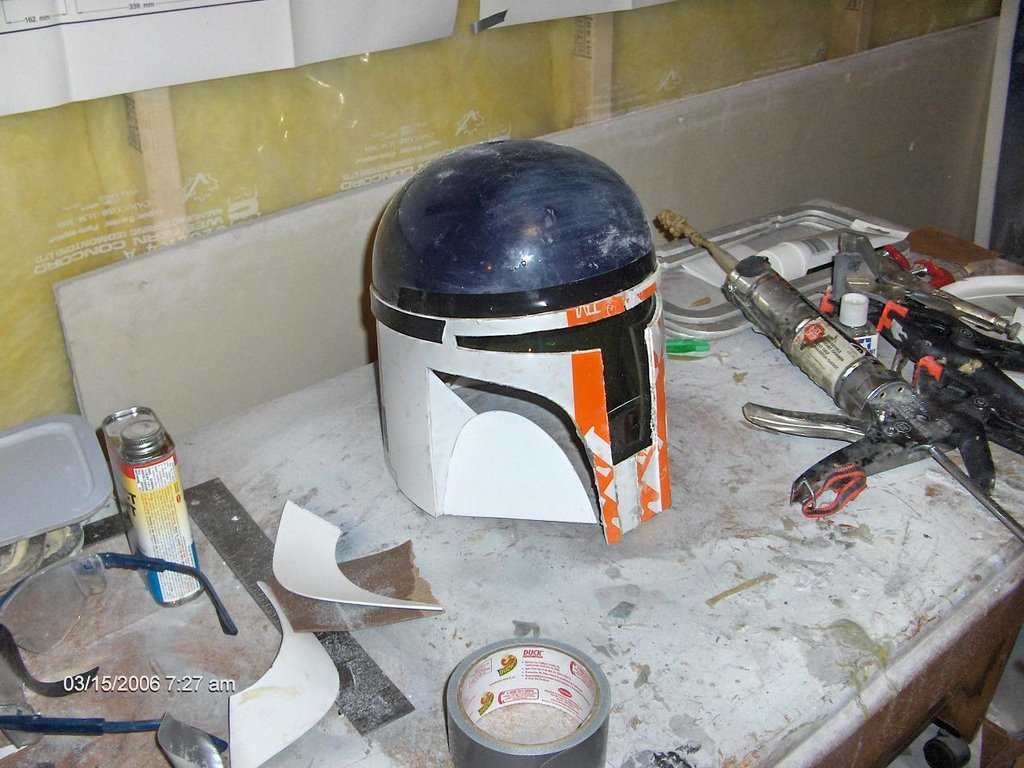
HOLY CRAP this thing is tough to glue. I have tried 5 different types of glue. This industrial strength bucket must be made with krypronite!

I tried using pvc glue (for pvc pipes) and it seems to work, but it doesn't melt the pastic at all to create that really good bond. I hope it holds!


The challenging part will be fitting in pieces for that curved cheek area. That is next.

Yoda's head, hands and feet should arrive any day now... :)

Monday, March 13, 2006

Fett Helmet, and Yoda Dressed

After trying to find some kind of plastic to use to attempt to make a Boba Fett helmet I found Home Depot buckets. I picked up a couple, traced out the templates and used my Dremel to cut out the pieces. Then I had to find a batters helmet. Luckily I found one at Wal Mart for $15. I cut it down, sanded it as flat as I could and started gluing it all together.
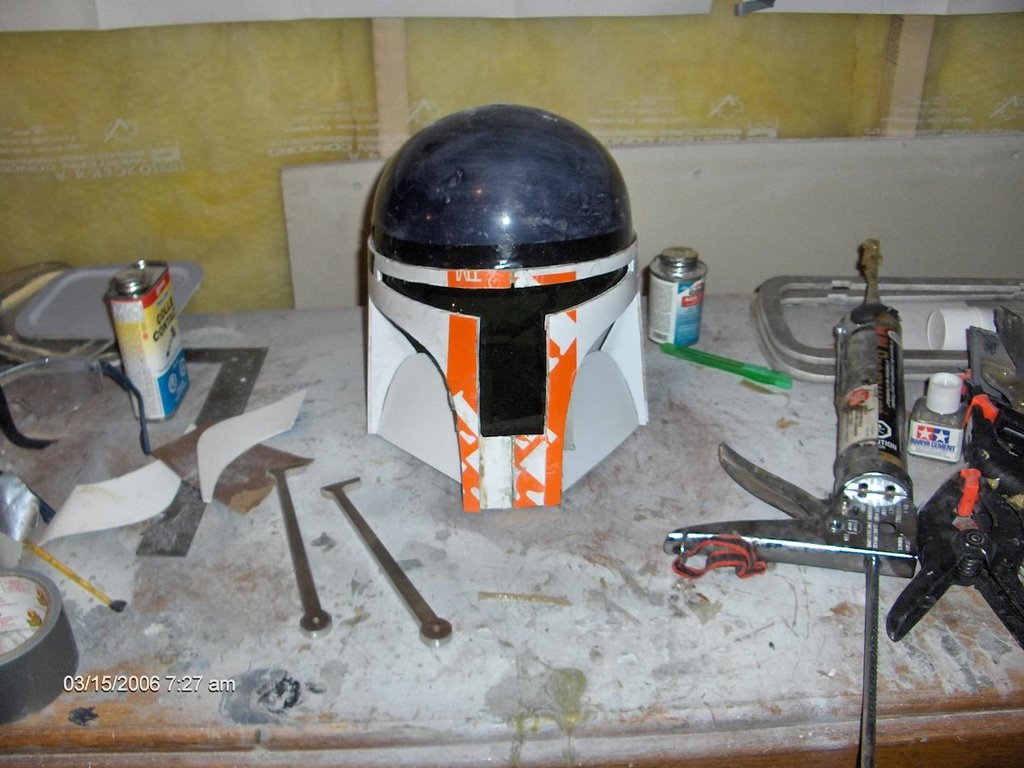


This is a pic of the rangefinder arm that goes up one side of the helmet. I had these cut out at work. I cleaned one of them up with a file.


Here is yoda's new clothing. Now I just need hands feet and his head. Hopefully they arrive this week.

Friday, March 10, 2006

Boba Fett....while I wait...

I am still waiting for my Yoda head, hands and feet and costume to arrive so in the meantime I found plans for a Boba Fett helmet. Might make a little project out of it..at least for me and my little bro.

Here are a couple pics of my crazy carpet/duct tape mock up. I think if I can get some thicker plastic and a batters helmet for the top, this should turn out pretty good.